Last updated November 18, 2026



Free written scope consultation - allowances, timeline, and change-order rules on paper before a single trade is scheduled
Home Additions & ADU Troubleshooting: Common Problems and How to Fix Them
A hairline crack in the drywall where a new addition meets the original house is not a settling issue. It is almost always a sign that the new foundation was not tied to the existing foundation at the same depth – a defect that costs $8,000-$25,000 to correct after the fact. Most addition and ADU problems do not show up at the final walkthrough. They show up 6-24 months later as water infiltration, rooms that run 10°F hotter than the rest of the house, or doors that suddenly stop latching. This guide traces those delayed failures back to the construction phase where each one started, so you can diagnose what you are seeing and know what a fix actually involves. Fort Worth homeowners deal with a specific set of conditions – expansive clay soils, hard summer heat, and violent spring storms – that make certain failures more likely here than in other markets.
Quick Answer
The most common home addition and ADU problems are foundation separation at the tie-in point, water infiltration at the roof-to-wall transition, HVAC imbalance from skipped Manual J load calculations, and electrical overload in garage conversions. Each one originates during construction, not after, which means the fix usually involves opening finishes and correcting a specific trade detail rather than patching the symptom. Cracks wider than 1/8 inch at the addition seam, water stains on the shared wall, or a breaker that trips when the ADU heats up all point to a construction-phase defect that a licensed contractor should evaluate.
Styles & brands we work with
- Kitchen remodeling
- Bathroom remodeling
- Home additions & ADU
- Roofing
- Windows & doors
- Driveway & pavers
- Fence
Table of Contents
- How Do You Tell Cosmetic Cracks From Structural Separation?
- Why Does Water Get In at the Addition-to-House Transition?
- Why Does the New Room Feel 10°F Different?
- What Are the Electrical Overload Signs in a Garage ADU?
- What Do Fort Worth Permits and Inspections Actually Require?
- What Paperwork Should You Collect During Construction?
- How Does Fort Worth Climate Accelerate These Failures?
How Do You Tell Cosmetic Cracks From Structural Separation?
Foundation cracks fall into two categories, and the measurement that separates them is width. A cosmetic shrinkage crack from drywall curing is typically under 1/16 inch, runs vertically or diagonally, and stays stable over a 30-day observation period. A structural separation crack at the addition-to-house connection is different. Measure it with a feeler gauge or a crack-monitoring card. If it is 1/8 inch or wider, runs at a fairly consistent angle following the foundation line below it, or grows even a millimeter over two months, the new foundation likely settled away from the original slab.
In our experience, this happens because the addition footing was not dug to the same depth and bearing stratum as the existing foundation, or the two slabs were never mechanically tied with dowels. Fort Worth sits on expansive clay that swells and shrinks with the wet-dry cycle, so a new foundation poured shallower than the original moves independently the first time the soil shifts. The fix means underpinning the addition footing and re-tieing it to the original, then repairing the drywall. That runs $8,000-$25,000 depending on accessibility.
- Stable, under 1/16 inch: monitor for 30-60 days, likely cosmetic.
- 1/8 inch or wider, uniform angle: call a structural engineer for an evaluation.
- Crack that grows monthly: structural, stop using the door or window near it and get an inspection.
Why Does Water Get In at the Addition-to-House Transition?
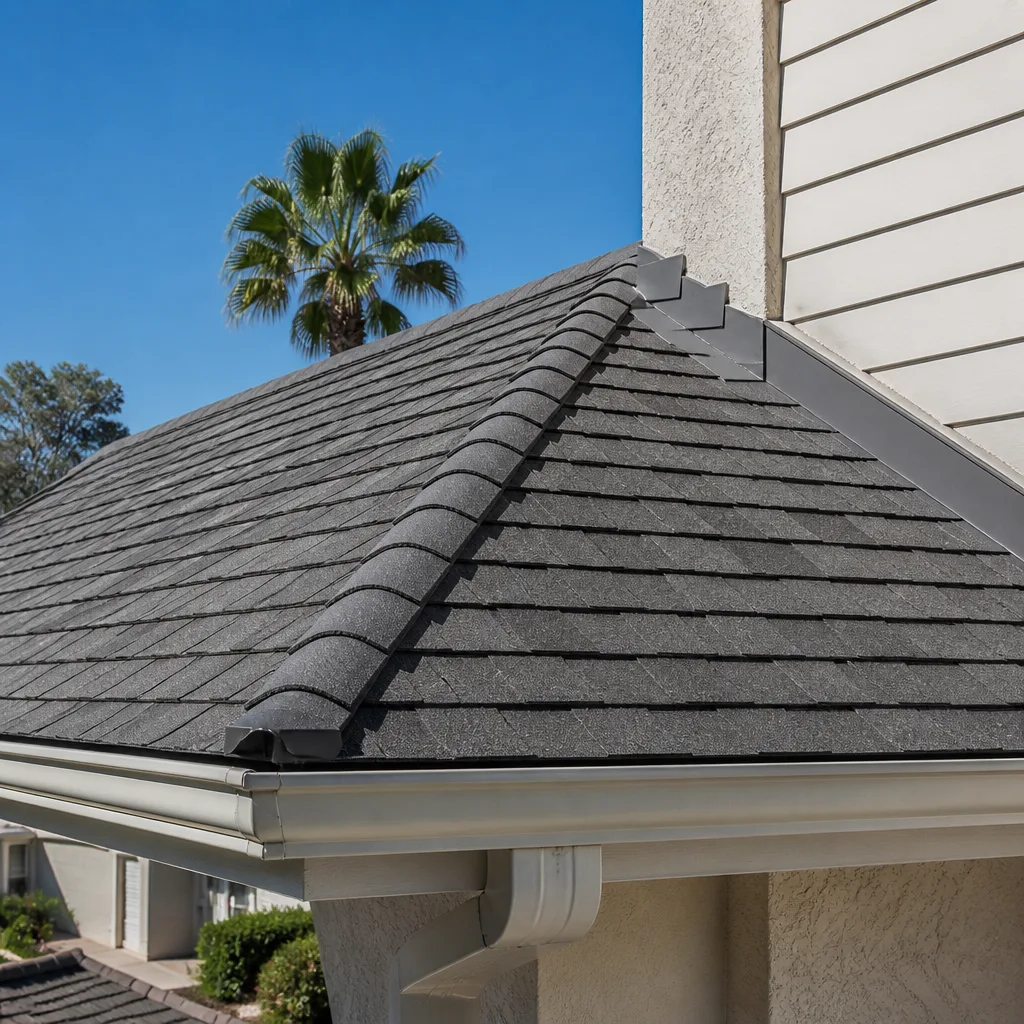
Water at the roofline transition is the single most frequent addition complaint we see, and it almost always traces to one skipped detail: kick-out flashing. Where a sloped roof from the addition meets a vertical wall on the original house, water runs down that wall and needs a kick-out to divert it away from the siding and into the gutter. Without it, water penetrates the wall assembly and shows up as a stain on the interior ceiling months later.
A correct installation looks like this: step flashing woven into each shingle course along the transition, a kick-out flashing at the bottom of the wall run, a weather-resistant barrier lapped correctly under the flashing, and a gutter end cap close enough that water actually lands in the gutter. We have walked Fort Worth roofs where three of those four steps were done and the fourth was improvised with caulk. Caulk fails in one to two Texas summers.
Diagnosing it means looking for a roof-shine stain on the ceiling near the shared wall after a heavy storm, peeling paint on the interior side, or a soft spot on the siding outside. The repair usually means removing the bottom three to four shingle courses and reinstalling flashing correctly.
Why Does the New Room Feel 10°F Different?
A new room that runs 10°F hotter in July than the rest of the house has one of three causes, and they are listed below in order of what it costs to fix. This is the most common addition complaint Fort Worth homeowners bring us in the first summer after completion, because our August heat exposes a badly sized system faster than any other climate.
- Duct sizing. The contractor ran a single 6-inch supply to a 200-square-foot room. A room that size typically needs a properly sized trunk and at least two supplies. Adding a dedicated return run costs $400-$900 and fixes most of it.
- Manual J calculation skipped. Manual J is the load calculation that determines how many BTUs a room actually needs. Without it, the contractor guesses, and guesses run 20-40% low on a west-facing addition. Correcting it means adding a mini-split or upsizing the air handler, $2,500-$6,000.
- Return-air path missing. The new room has supplies but no return, and the whole house HVAC system pressurizes and starves the far rooms. Adding a jumper duct or return run usually solves it for under $600.
Ask for the Manual J document before construction starts. Any contractor who cannot produce it is guessing at your comfort.
What Are the Electrical Overload Signs in a Garage ADU?
When a garage becomes living space, the electrical load changes from “a few outlets and a door opener” to “kitchen circuit, HVAC, hot water, and a full set of living-space circuits.” If the original subpanel was not upsized, the ADU will overload. The symptoms tend to appear in this order, and you can identify each one before a breaker failure forces the issue.
- Breaker trips when two appliances run together. Kitchen use is the first place overload shows.
- Lights dim when the AC starts. This is a voltage drop symptom from an undersized feed, not a light fixture problem.
- Warm or discolored breaker body. Feel the panel after the ADU has been in use for an hour. A warm breaker is a sign of continuous overload, not a hot afternoon.
- A 60-amp feed serving what should be 100-125 amps. Check the panel label. If the subpanel is still 60 amps and the ADU runs a range or AC, that is the cause.
The correct fix is a new feeder from the main panel to an upsized subpanel, $2,000-$5,500 depending on the run length and whether the main panel has capacity. Do not add appliances to a circuit that already shows any of the symptoms above.
What Do Fort Worth Permits and Inspections Actually Require?
Home addition and ADU work in Fort Worth requires a building permit, and the inspection sequence has specific checkpoints you should know by name. Each inspection is a documented event, and the inspection card is your proof it happened. Missing one inspection in the sequence means the work may have proceeded without the check it was supposed to receive.
- Foundation inspection before the pour. This verifies rebar placement, footing depth, and the tie-in to the existing foundation.
- Framing inspection after sheathing but before insulation.
- Rough-in inspections for electrical, plumbing, and mechanical before the walls close.
- Insulation inspection after rough-ins pass.
- Final inspection after finishes.
We request that homeowners obtain copies of every inspection card during the project, not after. Permits pulled and inspections passed are the two structural checks that protect you, and the paperwork from both should live in a folder before the crew hands you the keys. For the permit side of a Fort Worth addition, see our Home Additions & ADU in Fort Worth page for the local sequence.
What Paperwork Should You Collect During Construction?
The documentation you gather during construction is the difference between a warranty claim that gets honored and one that gets argued about 18 months later. If the contractor is gone, only the paper survives. Collect these documents before the crew packs up:
- Every inspection card, dated and signed, in a folder.
- The engineer’s site visit reports, if a structural engineer was involved at any point.
- A phase-by-phase photo log. Foundation pour, framing, rough-in, flashing, and finished condition. Date-stamped photos, not just whatever you happened to shoot on your phone.
- Manufacturer spec sheets for the HVAC air handler, water heater, and major fixtures. The brand and model numbers matter for future repairs.
- Signed change orders for any scope change, including any change to the foundation, flashing, or HVAC plan.
We keep a documented photo record on every visit as a standard deliverable, not an upgrade. When homeowners end up needing to troubleshoot a failure later, that photo log is usually what tells them which contractor got which phase right.
How Does Fort Worth Climate Accelerate These Failures?
Fort Worth’s climate is not neutral. A spring storm that dumps two inches in an hour finds a flashing mistake that a gentler climate would take years to expose. Summer heat at 100°F-plus stresses an undersized HVAC system and warms a marginal breaker more than a northern climate would. And the expansive clay soil under much of Tarrant County – it swells after rain and shrinks through July – works a foundation that was not tied into the original at the same depth. North Fort Worth and the new-build additions around Saginaw often see this first because the lots were graded recently and the soil has not finished cycling.
What this means practically: an addition that failed its flashing detail will show water inside within one full rainy season here, not six. An HVAC that skipped Manual J will feel like a failed system by August of year one. A foundation tie that was not done at depth will crack drywall within 24 months. The climate does not create the failures – it reveals them faster.
Common Mistakes to Avoid
- Not asking for the Manual J. If the HVAC contractor cannot produce the load calculation before the system goes in, the system is a guess. Insist on the document.
- Skipping the structural engineer at the foundation tie. A Fort Worth addition that shares a slab with the original house needs a stamped engineer detail at the tie point. Doing it without one is the single most common way a $8,000 repair gets baked in.
- Accepting “we’ll caulk the flashing.” Kick-out flashing is metal, not caulk. Caulk lasts one or two Texas summers. Metal flashing correctly installed lasts the lifetime of the roof.
- Not upsizing the subpanel in a garage conversion. A 60-amp subpanel will not carry a kitchen, AC, and hot water. Overload shows up as tripped breakers and dimming lights, and the fix after the fact costs more than the upgrade during the build.
- Not keeping the inspection cards. Inspection records are what prove the work was done to code. If you cannot produce them at resale, the addition becomes a negotiation liability.
- Treating a 1/8-inch crack as cosmetic. Anything at that width at the addition seam deserves a structural evaluation, not a patch.
- Assuming the contractor’s “as-is” quote covers the fix. A written scope from the start is the only defense. Without one, “as-is” means “not our problem.”
See the difference
 Before
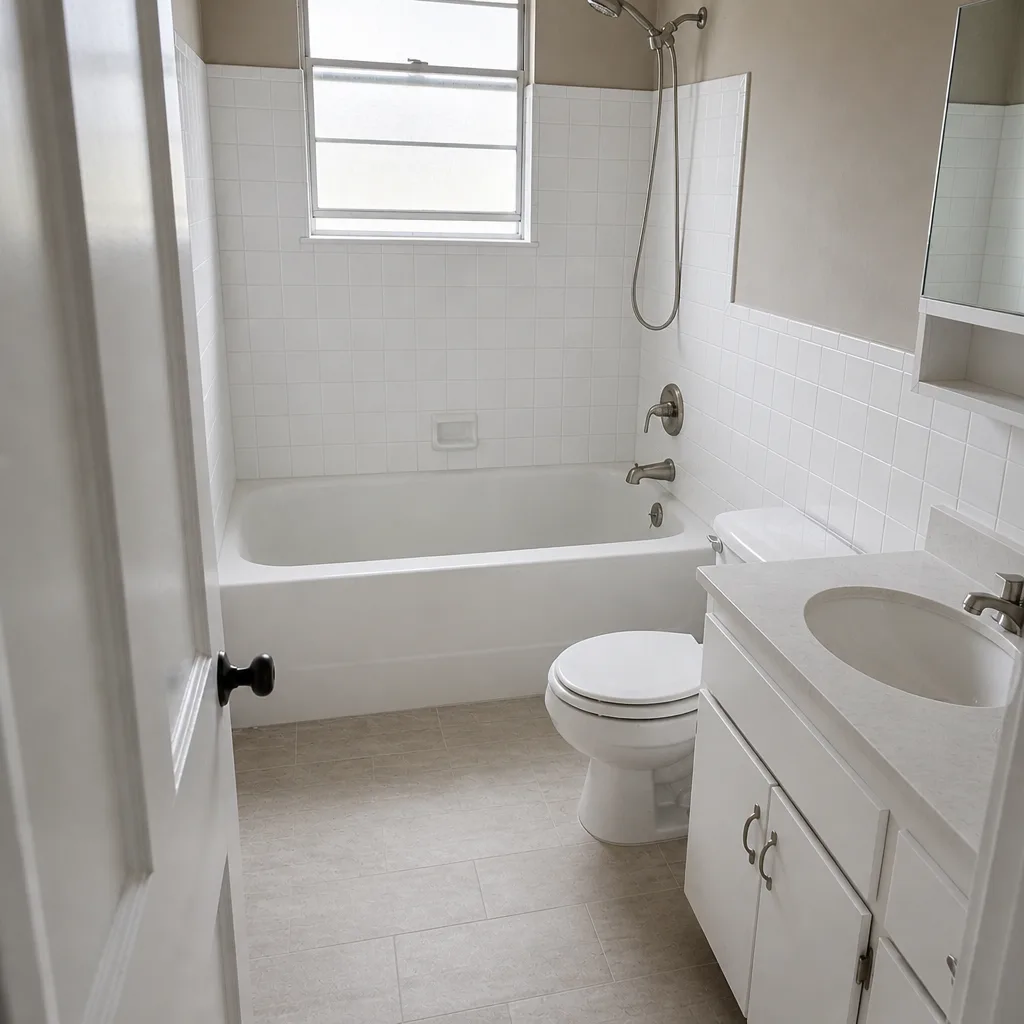 After
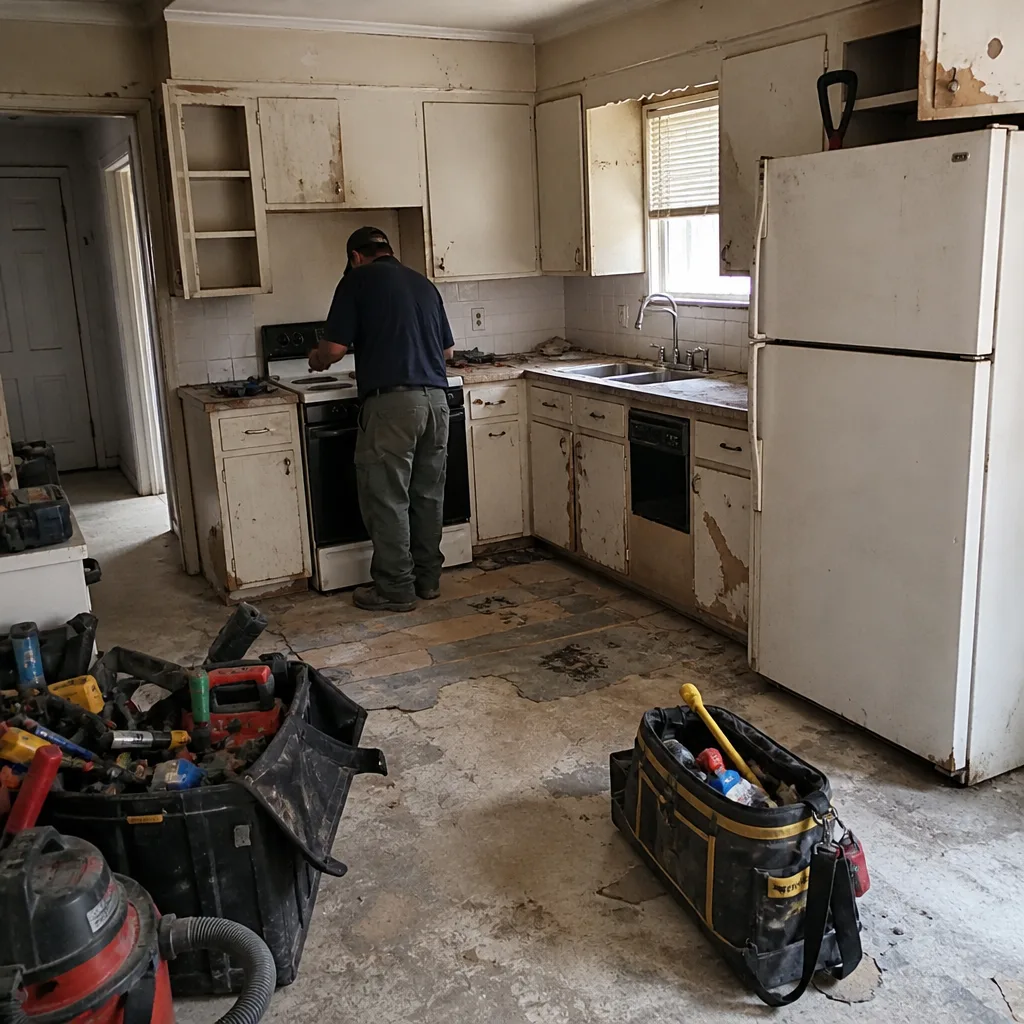 Before
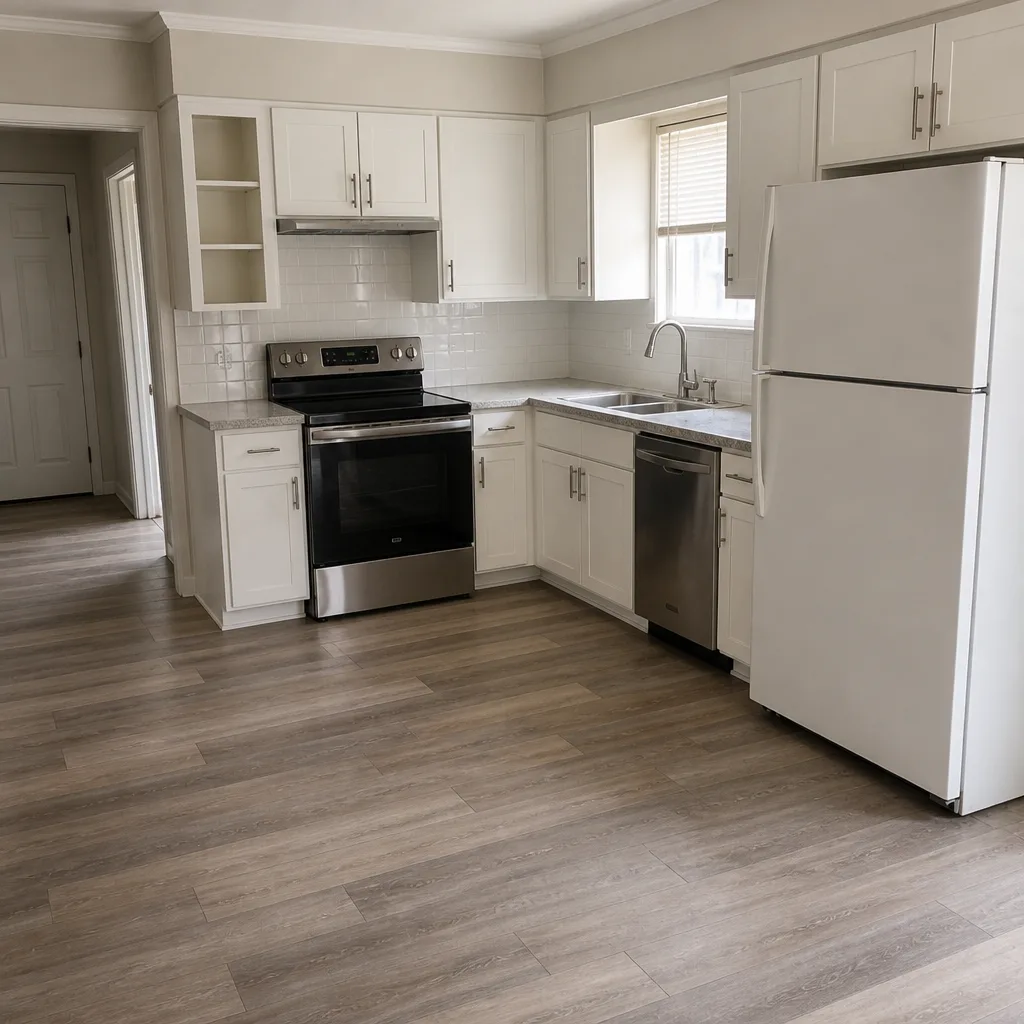 After
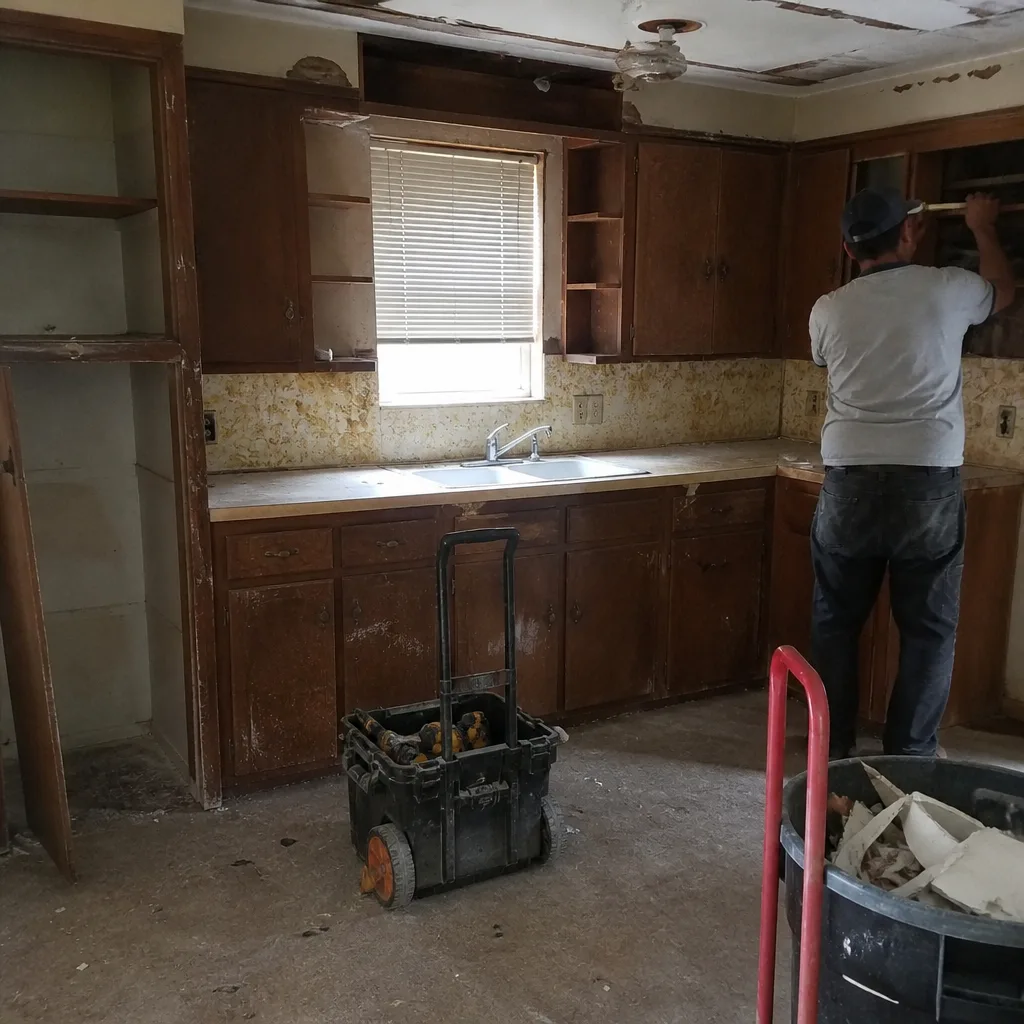 Before
 After
When to Call a Professional
Call a licensed contractor when you see a crack at the addition seam that measures 1/8 inch or wider, a water stain on the ceiling or interior wall near the transition after a storm, a breaker that trips repeatedly in an ADU, or a room that runs more than 5°F off from the rest of the house in July. Those four symptoms each point to a specific construction-phase defect, and none of them improve with time. In Fort Worth, cut-off flashing and foundation tie failures in particular tend to worsen with every heavy rain or dry spell, so waiting through another season usually costs more than diagnosing early.
Rowan Construction Group Fort Worth offers free estimates in Fort Worth – call (833) 570-6084. Bring any written estimate from another contractor and we will review it line by line at no charge. Our technicians have up to 19 years of experience, and we put the price in writing before any work starts.
Frequently Asked Questions

Correcting a foundation that was not tied to the original house runs $8,000-$25,000 in the Fort Worth market, depending on whether the addition can be underpinned from the exterior or has to be opened from the inside. The low end covers an accessible footing and re-tie; the high end covers interior access, drywall removal, and re-finishing. Call (833) 570-6084 for an exact quote – estimates are free.
Three causes, in order of cost: undersized duct (a single 6-inch supply serving too much square footage), a skipped Manual J load calculation, or a missing return-air path. Duct fixes run $400-$900; a Manual J correction usually means $2,500-$6,000 for a mini-split or upsized air handler; a return-air fix is usually under $600. Ask your contractor to produce the Manual J before the system is installed.
Not without a signed change order. At Rowan Construction Group Fort Worth, no work proceeds on a change until the change order is signed – that is the administrative discipline that keeps projects within a few percent of the number the customer agreed to. Under our standard, the quote is a flat written price with a written scope and a written warranty before any work starts.
Yes. Every addition and ADU project in Fort Worth requires a building permit, and the work goes through a sequence of inspections – foundation, framing, rough-in, insulation, and final. We pull permits and the inspection cards become part of the homeowner’s documentation folder before we finish.
A single-room addition typically runs 3-5 months from permit to final inspection. An ADU conversion of an existing garage runs 2-4 months. The biggest variable is permit review time with the city, which can add 4-8 weeks depending on the scope. We quote the full timeline in writing before the first nail goes in.
Every inspection card, any structural engineer’s site report, the Manual J for the HVAC, the manufacturer spec sheets for appliances, and a phase-by-phase photo log. If a failure shows up 18 months later, that documentation is what makes a warranty claim enforceable. We include a documented photo record on every visit as a standard deliverable.
The Bottom Line
Home addition and ADU problems in Fort Worth almost never appear at the final walkthrough. They appear 6-24 months later as water at the transition, a room that runs hot, or a crack at the foundation seam. Each of those traces back to one construction-phase detail: the tie-in depth, the kick-out flashing, the Manual J, the subpanel size, or the documentation. The fix is to diagnose by symptom, demand the documentation, and treat a 1/8-inch crack at the seam as structural rather than cosmetic. Our Rowan Construction Group Fort Worth home page covers the full range of what we do, alongside our Driveway & Pavers in Fort Worth and Fence Installation in Fort Worth services – each with the price written before the work starts.
Call (833) 570-6084 for a free estimate on any troubleshooting or repair work. We put the number in writing, back it with the 365-Day Done Right Promise, and stand behind what the paperwork says.
Written by the team at Rowan Construction Group Fort Worth.