Last updated November 18, 2026








Free written scope consultation - allowances, timeline, and change-order rules on paper before a single trade is scheduled
Bathroom Remodeling Maintenance Schedule: What to Do and When
Grout sealer applied at month 18 instead of month 12 costs roughly $0 more in materials. That’s the whole trap. The task is cheap whenever you do it. What changes is what happens underneath while you wait. A missed window on a wet-area silicone joint can turn into a tile substrate repair running $800-$2,400 before year three, and that number comes from pulling out tile, replacing compromised backer board, and re-waterproofing a shower pan that should have lasted thirty years. A bathroom remodel’s lifespan is decided less by the materials than by the six maintenance windows in the first 24 months that most homeowners skip. This guide maps every task to a specific month and explains what failure looks like when each one is missed, with notes specific to Fort Worth’s water and climate.
Quick Answer
A bathroom remodel needs its first real maintenance at day 30 (caulk and grout inspection, fan check, drain screen cleaning), then at months 3, 6, 12, 18, and 24, with annual deep maintenance after that. The two tasks that matter most are resealing wet-area silicone joints every 12-18 months and confirming your exhaust fan actually moves the CFM it’s rated for. Everything else on the schedule is inspection and cleaning, which is why the whole list takes under an hour per visit.
Styles & brands we work with
- Kitchen remodeling
- Bathroom remodeling
- Home additions & ADU
- Roofing
- Windows & doors
- Driveway & pavers
- Fence
Table of Contents
- Why a Bathroom Needs a Maintenance Schedule at All
- The Month-by-Month Timeline: Day 30 Through Year Five
- Caulk vs. Grout: Why They Fail on Different Schedules
- Testing Your Exhaust Fan: The Tissue Test and the ASHRAE Minimum
- Fort Worth Hard Water and What It Does to Fixtures
- Documentation: What to Photograph and Date at Each Interval
- Common Mistakes to Avoid
- When to Call a Professional
Why a Bathroom Needs a Maintenance Schedule at All
A bathroom is the wettest room in the house and the smallest. That combination means water sits on surfaces longer, vapor loads the air faster, and every seal in the room works harder than the equivalent seal anywhere else. A kitchen backsplash grout line sees splashes. A shower grout line sees standing water, soap scum, and steam cycling through expansion and contraction every single day.
The materials don’t fail because they’re cheap. They fail because the seal between them degrades on a predictable clock and nobody resets it. Cementitious grout is porous. Silicone caulk adheres until it doesn’t. Tile backer board is waterproof only as long as water never reaches it. Each of those has a service life measured in months, not years, and each one is cheap to reset and expensive to replace.
In Fort Worth, we’ve watched this play out in two distinct ways. Homes on the city’s older water infrastructure and in neighborhoods like Ridglea and Wedgwood tend to see mineral staining show up first, which is at least visible. Homes with newer plumbing see the opposite problem: nothing looks wrong until a soft spot appears in the drywall below the shower. The maintenance schedule exists to catch the second kind before it costs anything.
One more reason to put it on a calendar: warranty. Most tile and waterproofing warranties require documented maintenance. If a shower pan fails at year four and you can’t show that joints were sealed on schedule, the manufacturer has a legitimate reason to decline the claim. Our own Rowan Construction Group Fort Worth home projects carry the 365-Day Done Right Promise, and a written schedule is how a homeowner keeps both the manufacturer and the contractor accountable.
The Month-by-Month Timeline: Day 30 Through Year Five
This is the core of the guide. Each interval has specific tasks, and skipping one doesn’t just delay the work – it changes what the task becomes.
Day 30 (One Month After Completion)
- Inspect every caulk line in the shower, around the tub, and at the base of the toilet. New caulk shrinks as it cures; a hairline gap at day 30 is normal and needs a touch-up bead, not a full re-caulk.
- Run the exhaust fan and hold a single-ply tissue against the grille. If it doesn’t hold, the fan is undersized, blocked, or ducted wrong. Deal with it now, not in year three.
- Remove and clean the drain screens in the shower and sink. Construction debris hides there for weeks and starts a clog you’ll blame on the plumbing.
- Photograph everything: all four shower walls, the floor-to-wall joint, the toilet base, the fan grille with a date card. This is your baseline record.
- Check the toilet for a rocking base. A toilet that shifts on a newly tiled floor means the flange or wax ring needs attention before it leaks into the subfloor.
Month 3
Re-inspect the same caulk lines. Cured silicone either bonded or it didn’t, and month 3 is when you find out. Look specifically for a caulk bead that has pulled away from the tile edge on one side, which usually means the joint was wet when it was applied. Wipe down the grout with a pH-neutral cleaner and note any area where the grout has started to look chalky. Chalky grout is early efflorescence, and in Fort Worth’s water it means minerals are already depositing.
Month 6
This is the first real cleaning and inspection interval. Scrub grout lines with a soft brush and a neutral cleaner – never an acid-based product on cementitious grout, because it eats the binder. Check the showerhead and faucet aerators for the first sign of white scale. Here in Fort Worth, treated water averages over 300 ppm total dissolved solids, which is roughly two to three times the national average, so scale forms faster than the maintenance guides written for the Northeast assume. Descale the showerhead now and you’ll add years to it. Also check the toilet tank for mineral film on the flapper, which is a common Fort Worth failure that causes phantom running.
Month 12 (The Critical Window)
Month 12 is when the first meaningful work happens, and it’s the window most homeowners miss entirely.
- Reseal all grout in the shower floor and walls with a penetrating sealer. Grout sealer is sacrificial – it wears off rather than letting the grout absorb water – and 12 months is the standard service interval for a shower floor.
- Inspect, don’t necessarily replace, the silicone joints. Press a fingernail into the bead at the shower floor-to-wall joint. If it’s firm and adhered, leave it. If it peels at the edge or feels soft, cut it out and reapply 100% silicone.
- Test the exhaust fan again and clean the grille of dust, which cuts airflow more than people expect.
- Re-caulk the toilet base if it’s moved at all.
- Photograph and date the resealed grout and every joint.
Month 18
The wet-area silicone gets a real inspection at month 18, and this is the window from the opening of this guide. If a shower floor joint has been letting water past for six months, the failure shows up as a soft or discolored spot on the ceiling below, a loose floor tile, or a musty smell that doesn’t clear. That’s the $800-$2,400 substrate repair. If the joint is still tight, you spent a half hour and a few dollars of silicone. Reseal the grout again if the shower sees heavy daily use – a family of four is a heavier load than a guest bath. Descale the showerhead and aerators a second time.
Month 24
Two years is the full inspection cycle. Reseal grout. Replace or inspect silicone. Check the toilet supply line and shutoff valve for corrosion – a slow supply line failure is one of the most common causes of bathroom water damage and it’s almost always visible before it lets go. Inspect the fan duct termination if you can reach it; a duct that’s come loose in the attic dumps moist air into the insulation instead of outside. Photograph the whole room again as your two-year record.
Year Five
By year five, the materials have had time to show their character. Replace the toilet flapper and fill valve if you haven’t already – they’re inexpensive parts with a five-year typical service life. Re-caulk the entire room with fresh silicone. Have a professional check the shower pan for hidden moisture if you’ve had any soft-tile movement. If you’re planning to add a second bath or expand the footprint, this is also the natural point to look at Home Additions & ADU in Fort Worth before the plumbing layout gets locked in by a second remodel.
Caulk vs. Grout: Why They Fail on Different Schedules
Most homeowners treat caulk and grout as the same material with a different name. They’re not, and using them interchangeably is the fastest way to a failed joint.
Grout fills the spaces between tiles on flat surfaces – the shower walls and floor field. It’s cement-based (or epoxy, in newer installs) and it fails by absorbing water, cracking along stress lines, or eroding out of the joint. It needs sealing once a year in a shower and roughly every two years on a bathroom floor outside the wet zone. Grout that has cracked in a vertical line usually means movement behind it, which is a different problem than a maintenance miss.
Caulk fills the joints where two different materials meet – tile to tub, tile to shower pan, tile to drywall, toilet base to floor. Those joints move, and grout has no flexibility, so grout in those locations cracks within months. The only correct product is a flexible sealant.
Here is where it gets specific, and where a lot of DIY work goes wrong:
- Sanded vs. unsanded grout: Sanded grout is for joints 1/8 inch and wider and has more dimensional stability. Unsanded grout is for narrow joints on polished tile because sand would scratch the surface. Use the wrong one and you either get scratches or a joint that shrinks and cracks.
- Silicone vs. latex caulk: In a wet area, use 100% silicone. It adheres better, stays flexible, resists mold, and doesn’t shrink. Latex caulk is easier to tool, which is why some installers use it – but latex in a shower joint typically fails in 18-24 months.
- Sealer is not the same as caulk: A penetrating grout sealer soaks into the grout and repels water from within. A surface sealer or caulk sits on top. Don’t substitute one for the other.
Why do they fail on different schedules? Grout is sealed and simply wears, predictably, on an annual cycle. Silicone is mechanically bonded and its failure is event-driven – a bump, a cleaning product, a small movement – which is why the inspection is a fingernail press rather than a calendar replacement. Sanded grout on a shower floor can go 12 months between seals; the silicone joint at the drain typically needs replacement every 3 to 5 years, not every year.
Testing Your Exhaust Fan: The Tissue Test and the ASHRAE Minimum
Exhaust fan maintenance is the task homeowners most consistently skip, because the fan runs, so it must be working. Running isn’t working. A fan moving 30 cubic feet per minute when it’s rated for 110 will run forever and still let the room stay steamy.
The tissue test: Hold a single-ply tissue flat against the fan grille while the fan runs. If the tissue stays put against the grille, the fan is moving air. If it falls, the fan is blocked, undersized, or ducted wrong. It’s a crude test, but it’s the one you can run in ten seconds and it catches the common failure – a grille or duct clogged with dust.
The ASHRAE 50/80/110 rule: ASHRAE 62.2 sets a minimum fan rating based on bathroom size. For small baths, 50 CFM; for most standard baths, 80 CFM; and 110 CFM for larger or master baths with a shower and tub. If your fan was installed before the remodel or you’ve never verified its rating, check the label on the housing. A fan that’s rated below the minimum for the room isn’t something maintenance fixes – it’s a replacement.
Two more things that matter in Fort Worth specifically. First, duct routing: a bathroom fan that dumps into the attic instead of venting outside is a problem that shows up as attic mold, not bathroom mold, which is why homeowners miss it. Second, Fort Worth’s humid summers mean the fan needs to run longer than a dry-climate guide would suggest – 20-30 minutes after a shower, not the 5-10 that gets repeated online. Cap the fan run time by humidity, not by a timer you keep forgetting.
Fort Worth Hard Water and What It Does to Fixtures
Fort Worth’s treated water averages over 300 ppm total dissolved solids, which is roughly two to three times the national average and squarely in the “hard” category. That number matters because the maintenance schedule most guides use was written for softer water, and Fort Worth fixtures pay a price the guides don’t account for.
- Aerators clog faster. Faucet aerators, showerhead faces, and even the small screens at the supply line inlets accumulate mineral scale faster here. Descale at month 6 and month 18 rather than annually, and you’ll avoid the low-flow dribble that so often gets blamed on the plumbing.
- Showerheads lose pressure before they fail. A showerhead clogged with scale reads as low water pressure, but the fix is a descaling soak, not a new shower valve. In Fort Worth we see valves replaced for a problem that lives in the showerhead.
- Toilet flappers scale and warp. The flapper sits in water, gets coated, warps, and starts letting water through – a phantom running toilet that adds to the water bill quietly. Check it at month 6 and replace at the first sign.
- Glass shower doors spot more. A squeegee after every shower does more for the appearance of a Fort Worth glass door than any cleaner, and it takes twenty seconds.
If your home has a water softener, or you’re considering adding one, this is one of those upgrades that changes the maintenance schedule more than any product you can apply. Softened water cuts mineral deposits enough that the annual showerhead descale usually becomes a biennial one.
Documentation: What to Photograph and Date at Each Interval
This is the part of maintenance nobody photographs, and it’s the part that protects your warranty and your insurance claim. A contractor’s warranty and a manufacturer’s tile warranty both depend on showing that the failure wasn’t a maintenance miss. Here’s what to capture, and here’s what we do on our own projects – every visit includes a documented photo record as a standard deliverable, not an add-on.
- Date card: put a piece of paper with the date in every photo. It’s the difference between a file and evidence.
- All four shower walls at day 30, month 12, and month 24.
- The floor-to-wall joint and the drain, close up, at every interval. That’s where water gets in.
- The toilet base and the supply line at month 3, month 24, and at any replacement.
- The fan grille at month 30 and month 12, so you can show when a fan started to slow.
- Any soft spot, errant grout crack, or caulk peeling – photograph it the day you notice it, even if you plan to fix it later. The date is what tells the story.
- Keep the file in one place: a folder on your phone, not scattered across text threads.
This matters more than it sounds. A tile manufacturer’s warranty investigator will ask for exactly this record. A homeowner we’ve worked with discovered a slow toilet supply leak under the finish floor and had photos from month 24 showing a clean, dry base – which is what saved the claim. Under The Haven Standard, the written quote and the change orders get signed before work starts, and the documentation continues to matter long after the crew leaves. If you keep the record, the whole warranty case is a folder someone can read.
Common Mistakes to Avoid
- Skipping the day-30 inspection entirely. New caulk and grout need a touch-up in the first month. If you wait until month 12, small gaps become water paths.
- Using latex caulk in the shower. Latex caulk in a wet area typically fails in 18-24 months. Use 100% silicone and you save a re-caulk two years down the line.
- Cleaning grout with an acid-based product. It’s the single most common cause of eroded grout lines. It works, which is why people use it, and it also eats the cement binder in the grout. A pH-neutral cleaner and a soft brush do the same job more slowly and years longer.
- Assuming the fan works because it hums. Running and moving air are two different things. The tissue test takes ten seconds; a fan that’s moving 30 CFM when it should move 80 is the reason the paint peels on the bathroom ceiling.
- Ignoring a Fort Worth water bill bump. A phantom running toilet can add real money to a water bill before any visible sign. If the bill moves and nothing else changed, check the flapper at month 6, not at the annual inspection.
- Replacing fixtures to fix a mineral problem. A slow showerhead or a weak faucet is usually scale in the aerator, not a failed fixture. Descale first, and you’ll usually save the purchase.
- Not photographing anything. A warranty denial because there’s no dated record is one of the most avoidable losses in home maintenance.
When to Call a Professional
Most of this schedule is work you can do with a caulk gun, a brush, and a phone camera. A handful of situations aren’t, and calling early is cheaper than calling late. Call a professional if: a shower floor tile flexes or sounds hollow underfoot; a soft or discolored spot appears on the ceiling below the bathroom; a shower pan doesn’t drain freely and stays wet long after use; grout has cracked in continuous lines rather than isolated spots; or a toilet rocks after a remodel. Those symptoms point to a waterproofing or substrate problem that maintenance can’t fix and that gets more expensive every month it’s ignored. Wet-area waterproofing failures in Fort Worth often trace back to a missing or damaged substrate, not to a homeowner error. Rowan Construction Group Fort Worth offers free estimates in Fort Worth – call (833) 570-6084 and we’ll look at the specific joint or fixture and tell you what we found, in writing, before any work starts. If you also need exterior work after a storm season, we handle Fence Installation in Fort Worth and Driveway & Pavers in Fort Worth on the same written-quote model.
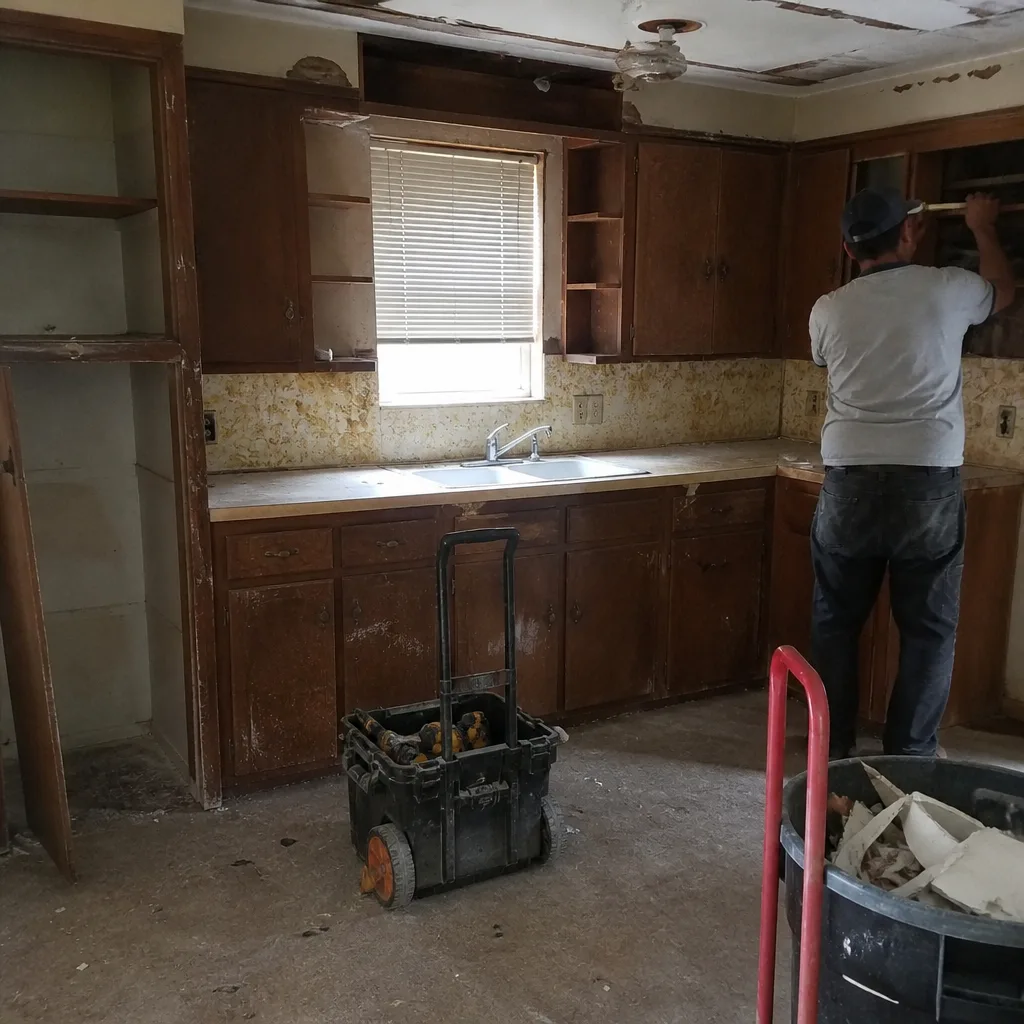
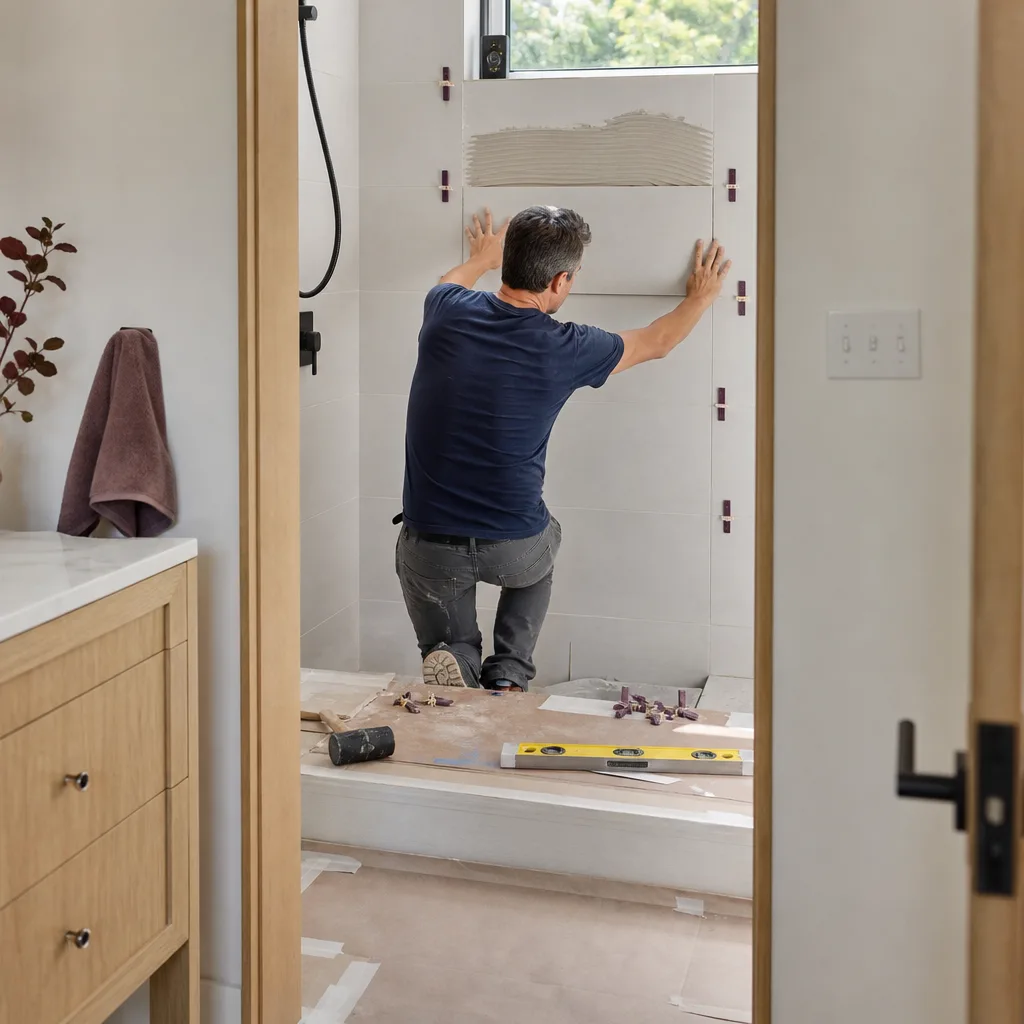
See the difference
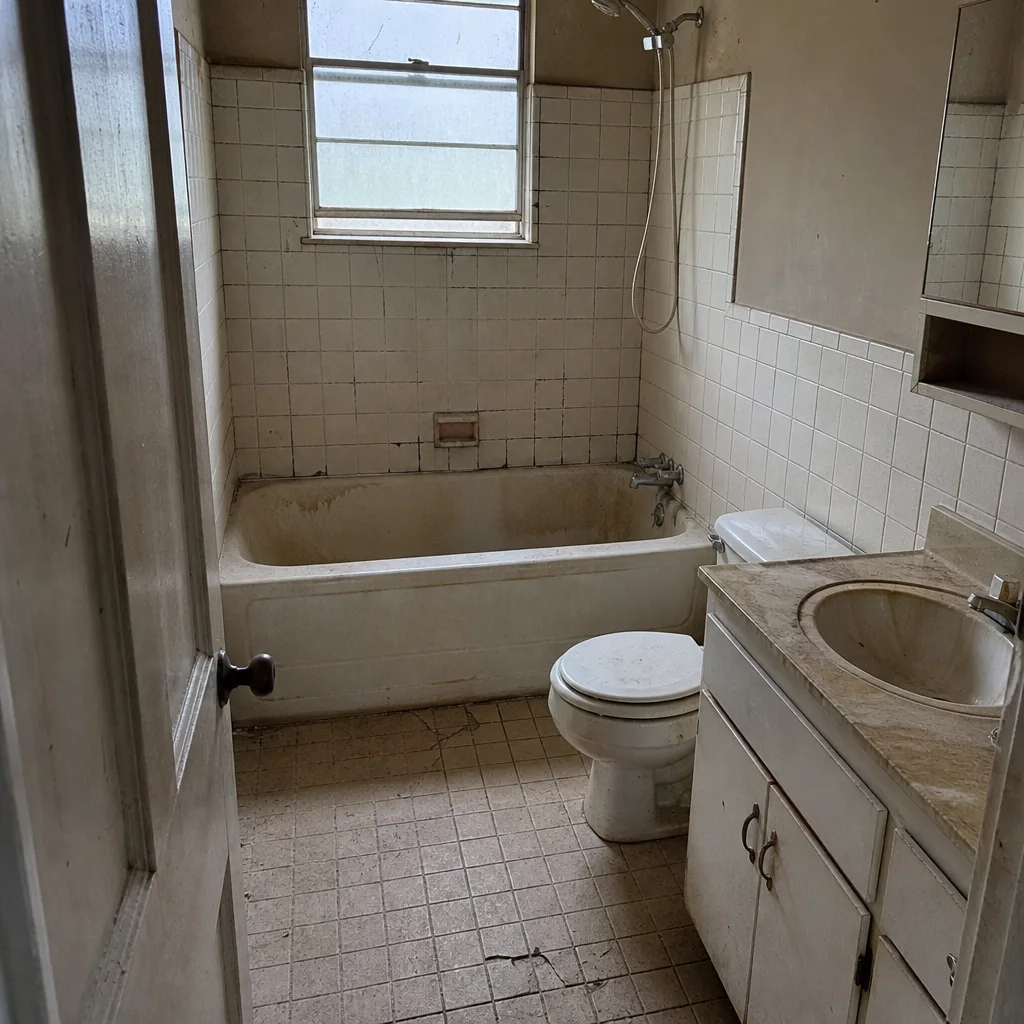 Before
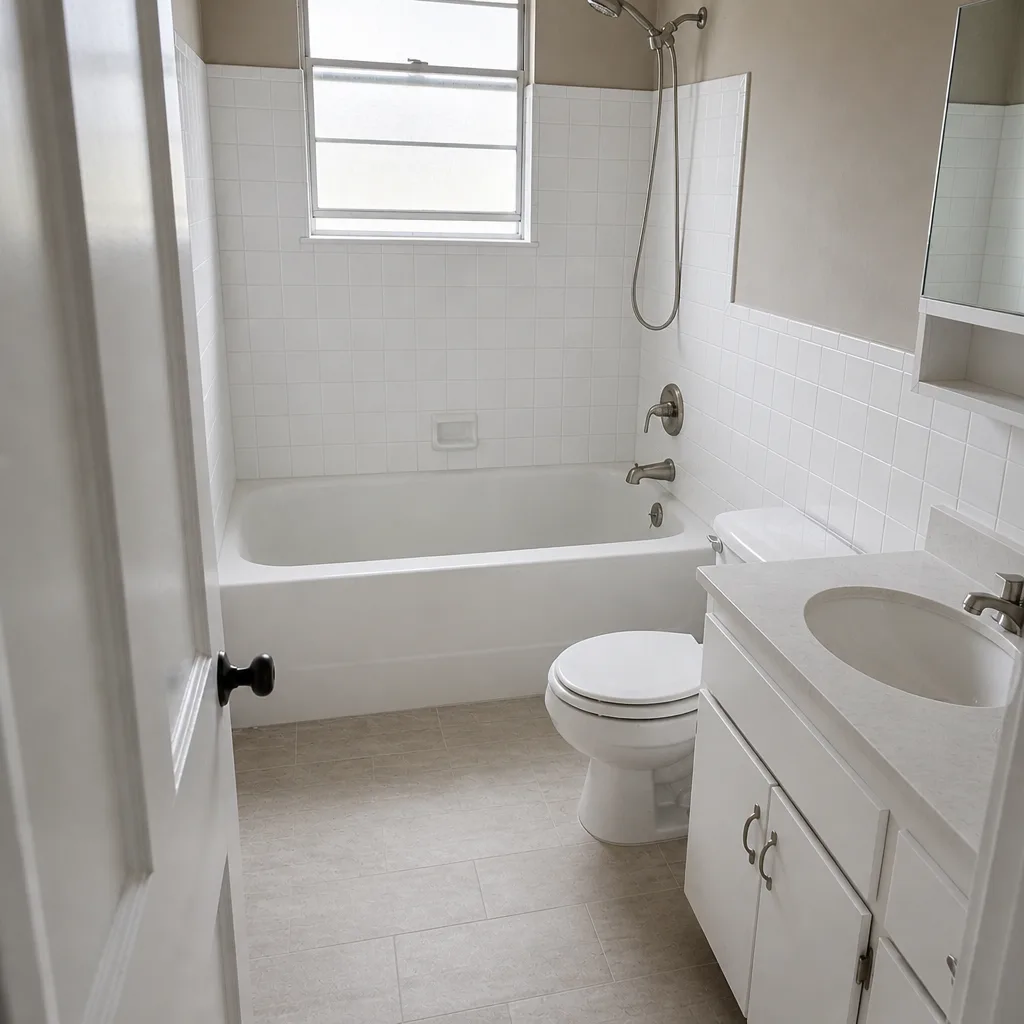 After
 Before
 After
 Before
 After
Frequently Asked Questions
Reseal shower floor and shower wall grout every 12 months, and bathroom floor grout outside the wet zone every two years. A shower used daily by a family of four is the heavier load and may look like it needs it at month 10. Water beading on the grout instead of soaking in means the seal is still working.
100% silicone is the right choice in a shower because it stays flexible, resists mold, and actually adheres to a wet-area joint. Latex caulk is easier to tool, but it typically fails in a shower in 18-24 months. Use silicone anywhere water regularly stands.
Hold a single-ply tissue against the grille while the fan runs – if it stays, the fan is moving air, and if it falls, the fan is blocked or undersized. ASHRAE 62.2 sets the minimum at 50 CFM for small baths, 80 CFM for most standard baths, and 110 CFM for a master bath with a tub. In Fort Worth’s humid summers, run the fan 20-30 minutes after a shower, not 5-10.
Fort Worth’s treated water averages over 300 ppm total dissolved solids, roughly two to three times the national average, so mineral scale forms faster on aerators and showerhead faces. Descale at month 6 and month 18 rather than once a year, and the showerhead will hold its pressure.
At day 30, check every caulk line for shrinkage, run the tissue test on the fan, clean the drain screens, check the toilet for rocking, and photograph everything with a date card. The day-30 inspection catches problems that were going to show up in the first month anyway, before they become water paths.
Yes, if the missed joint is a wet-area silicone joint and it lets water into a substrate for six months or more. A failed shower floor joint can mean removing tile, replacing compromised backer board, and re-waterproofing the pan – $800-$2,400 in most Fort Worth bathrooms. Resealing the same joint on schedule is the cheap version of the same job.
The Bottom Line
A bathroom remodel is a system of seals, and the seals fail on a schedule whether or not you watch them. The six windows that matter most are day 30, month 3, month 6, month 12, month 18, and month 24, followed by annual maintenance after that. Reseal grout every 12 months, inspect silicone with a fingernail press instead of replacing it on a clock, test the fan with a tissue, descale more often than the national guides say because Fort Worth’s water runs 300+ ppm TDS, and photograph every interval with a date card. The whole schedule takes under an hour per visit, and it’s what keeps a Fort Worth bathroom from becoming a substrate repair. Call (833) 570-6084 for a free estimate, and we’ll put the number in writing before any work starts – the same way we handle every project in Fort Worth.
Written by the team at Rowan Construction Group Fort Worth.